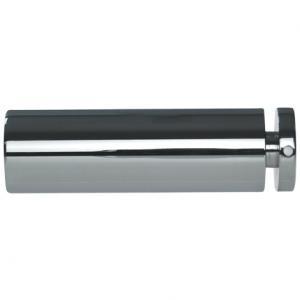
- Mark on the wall where you want your panel holes to be positioned using a pencil
- Drill holes where you have marked the wall
- Insert a raw plug into the hole in the wall
- Unscrew the sign support
- Fit the barrel of the stand off fixings to the wall by screwing the fixing screw through the hole in the sign support into the raw plug in the wall using a screw driver
- Fit the panel to the barrel of the stand off fixings
- Pass the threaded cap through the panel and screw into the barrel
- Tighten cap using the allen key
How to Install Stand Off Fixings continued
Stand off fixings are used to mount signs, panels and other rigid printed media to walls and other upright surfaces.
Stand off fixings are a low cost mounting option but offer a smarter option when compared to drilling directly through the sign or panel into the surface and a more stable and secure option than affixing with adhesive.
These fixings are inexpensive. There is a huge range designed to mount panels and rigid print in most common sizes and thickness. Choose from a range of finishes to suit the panel design and the interior design scheme. The most common finishes include brass, polished chrome, satin chrome and black.
Tip: Check the product info to choose the right standoff for the thickness of the sign or panel to be mounted.
Our ‘How To Install Stand Off Fixings’ guide below provides a clear step-by-step guide on how to install a standoff. It is easy and takes a few minutes. You don’t require specialist skills or equipment. You don’t need specialist installers. It is easy to create a smart display in stores, leisure venues, reception areas and waiting rooms, hospitality and restaurant venues. Inside and even externally sign standoffs are the ideal mounting solution.

Stand-off fixings are a simple way to give signs a modern, professional finish. By following these steps you can achieve secure, durable results for your displays. If you need supplies, explore our full range of sign standoffs, available in multiple sizes and finishes from UK stock with fast delivery and bulk discounts.


